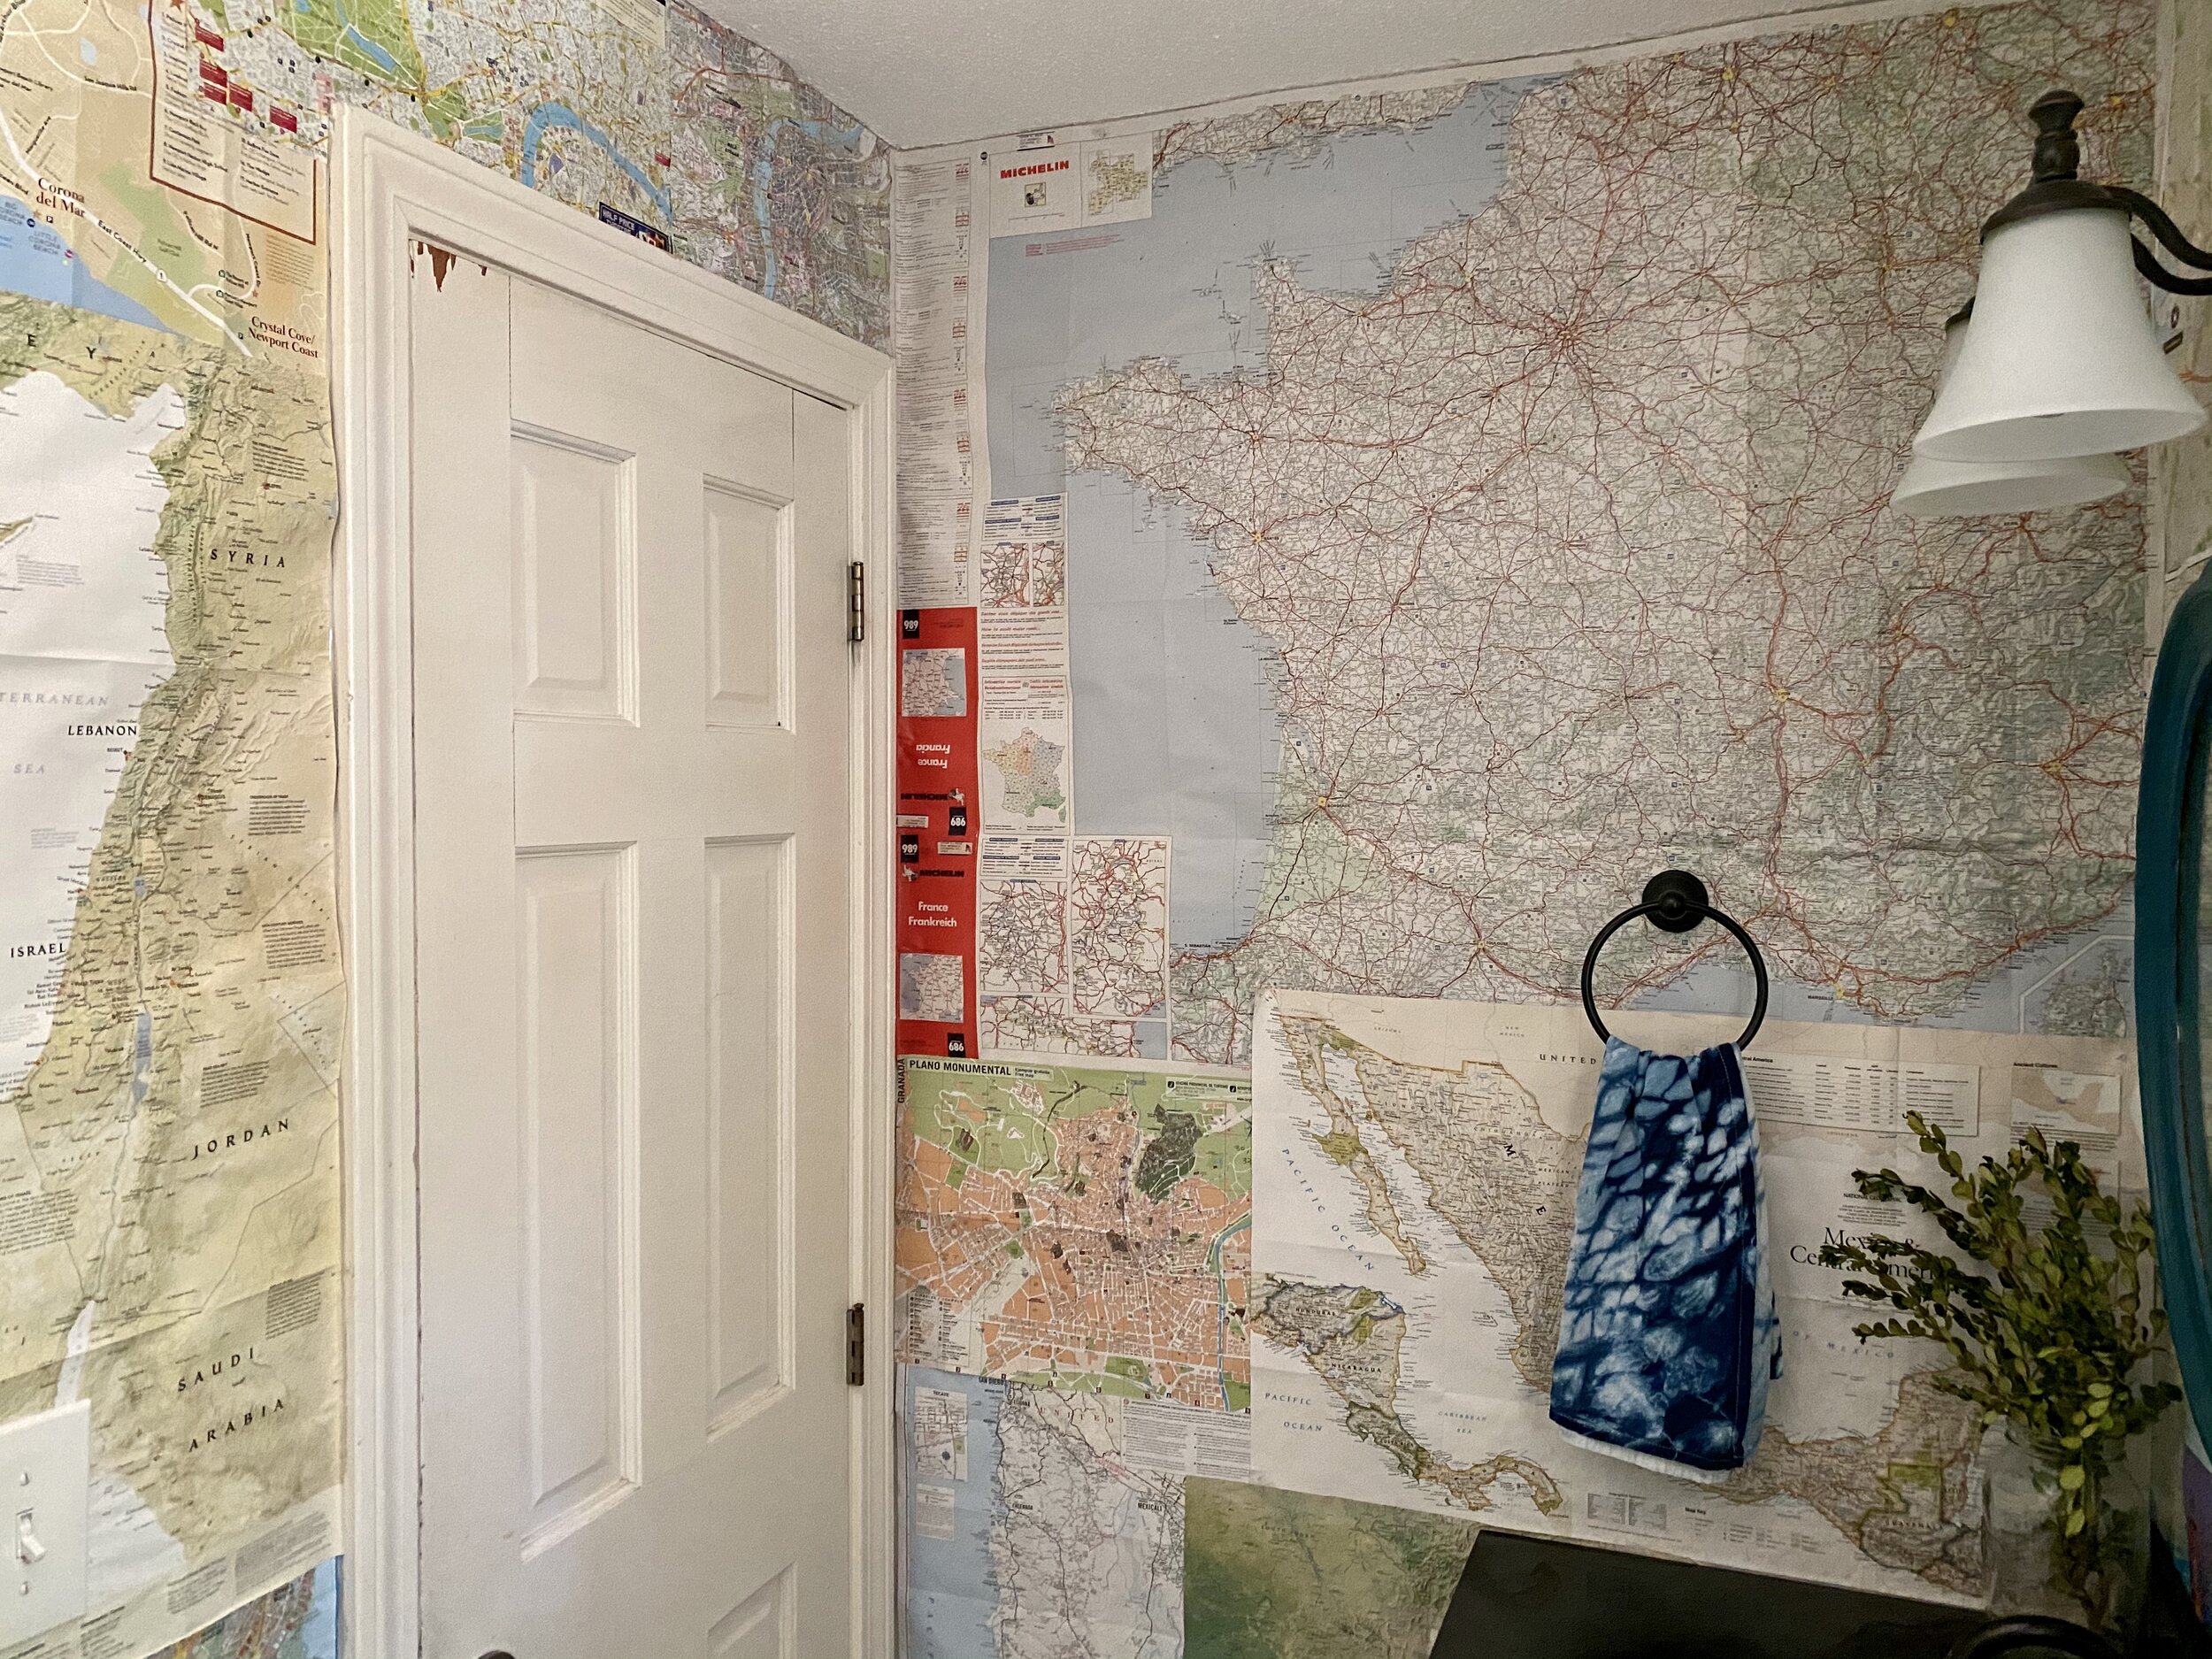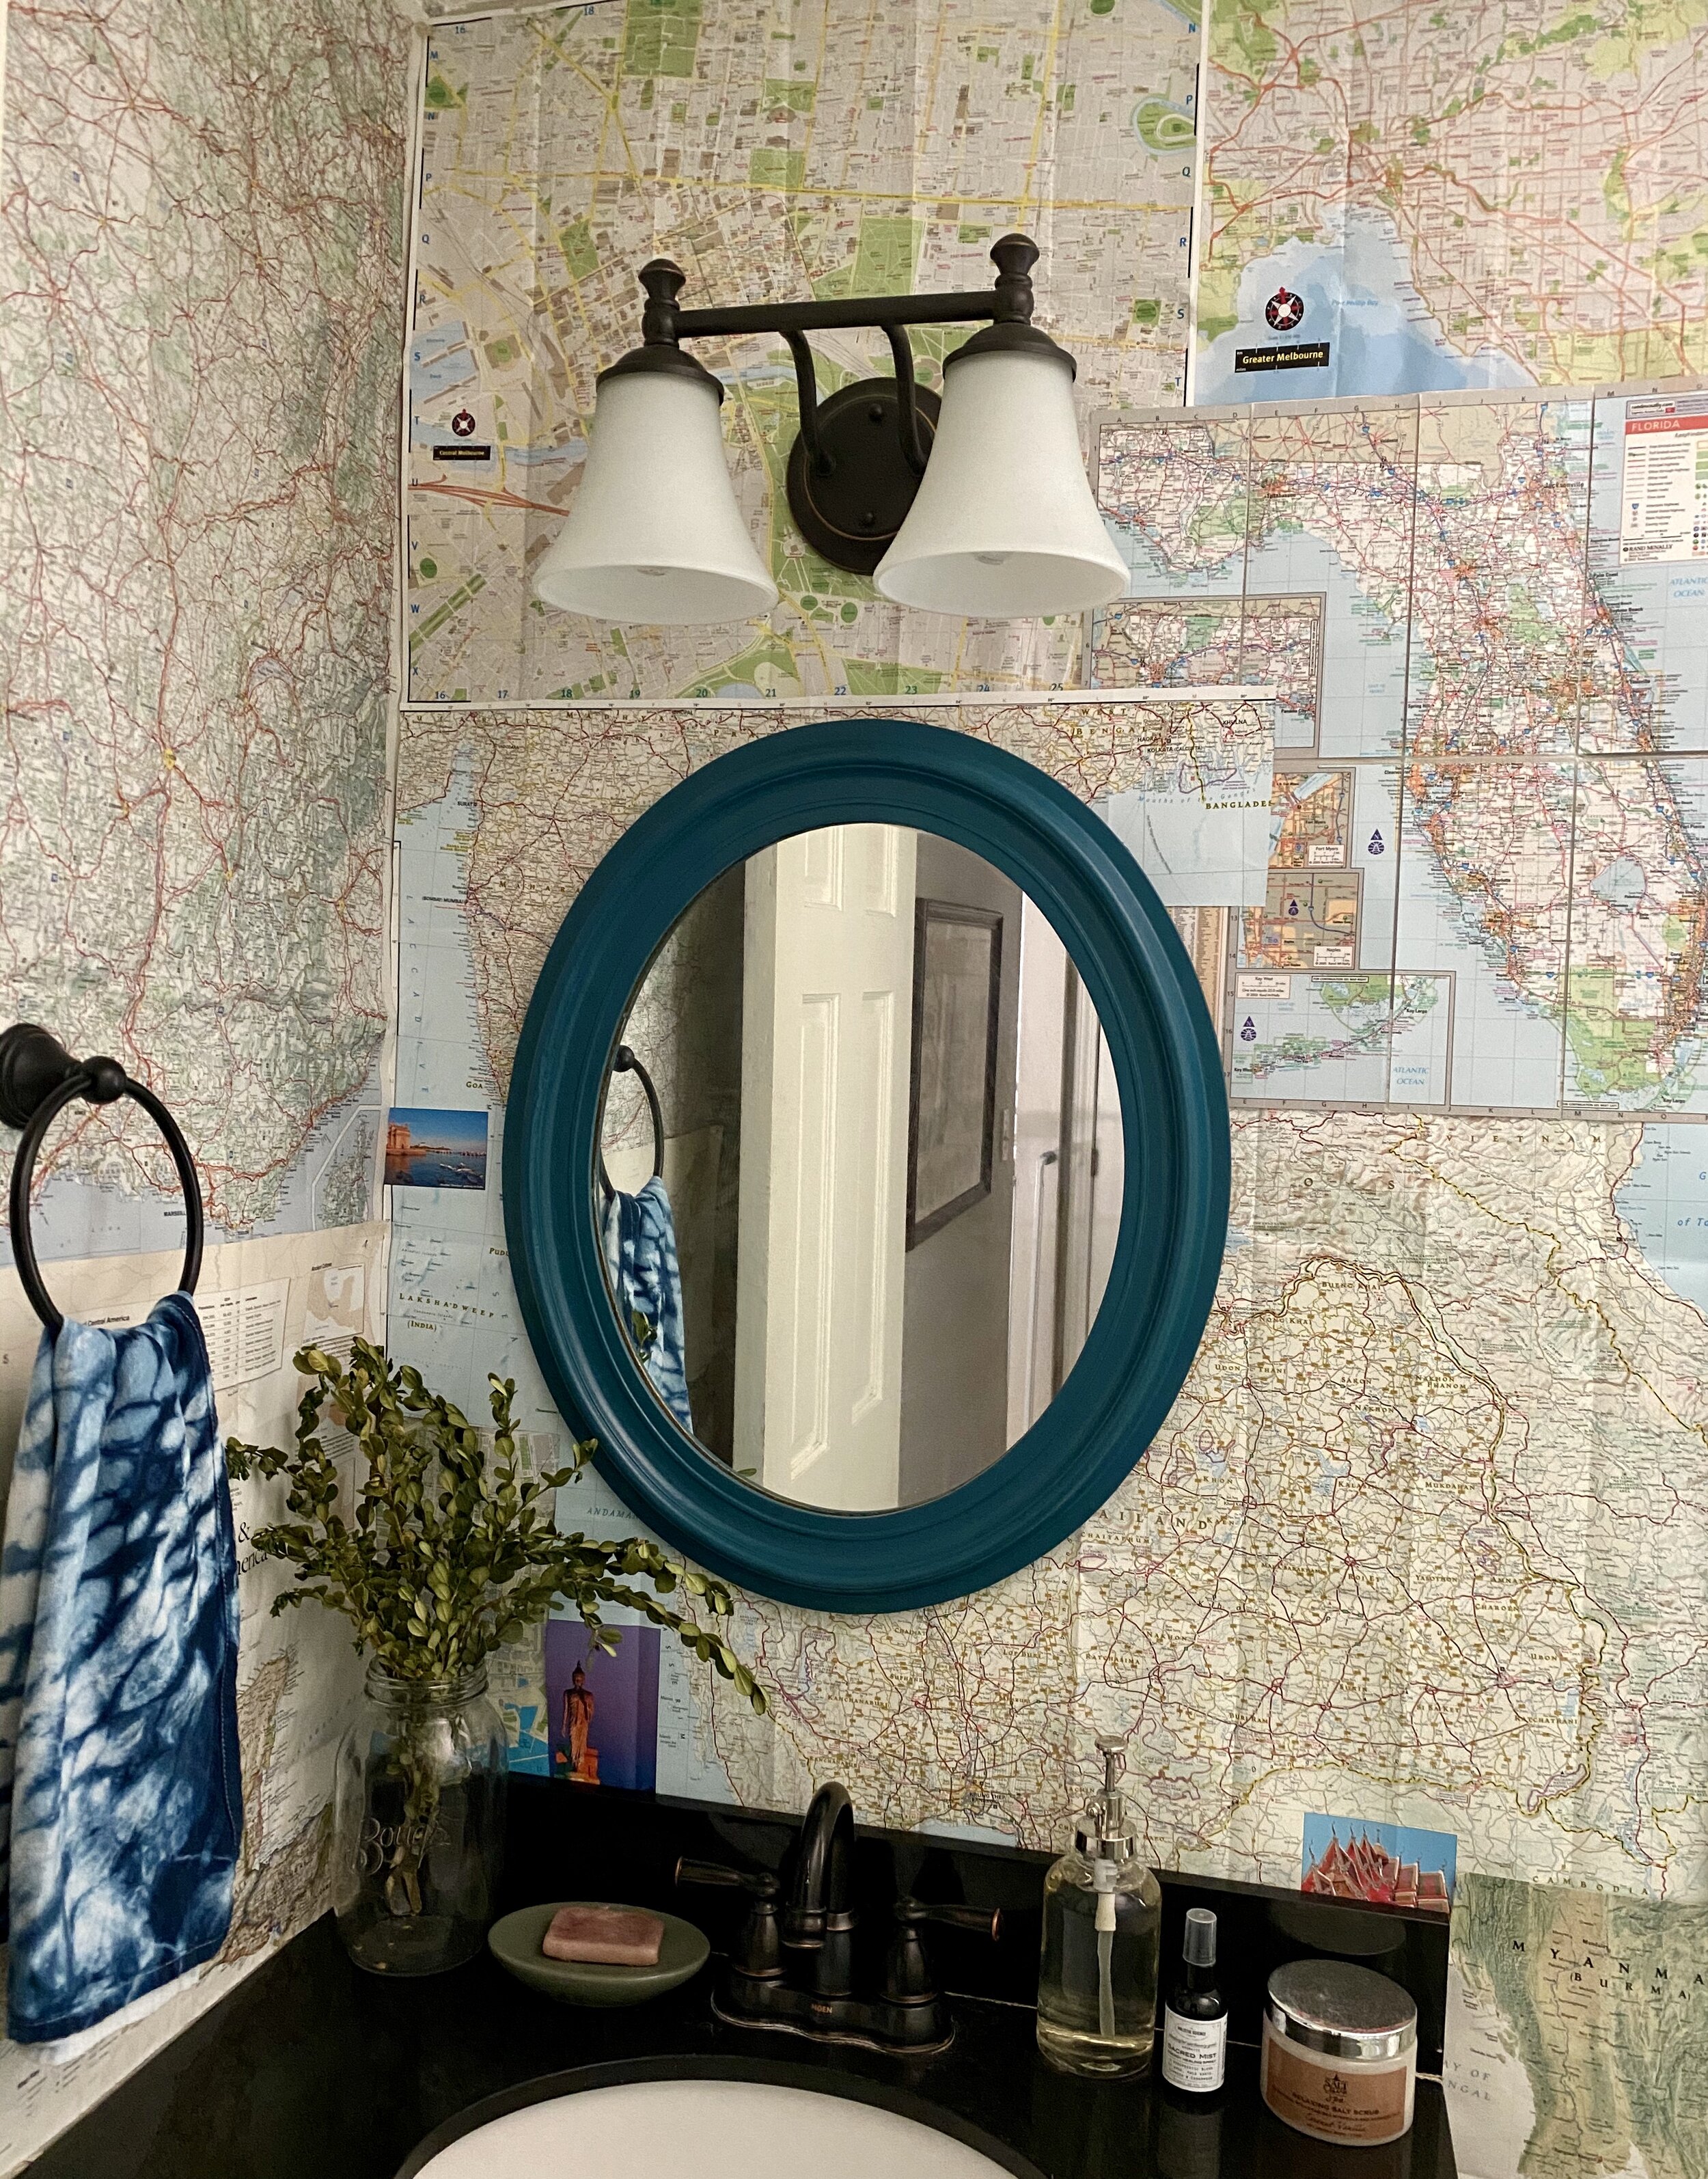
During this stay-at-home-Spring I have been able to finish lots of projects around our home and garden. One of my favs was finishing the map wallpaper in the half bath. These maps are from my travels, my grandfather, and lots from National Geographic, a magazine I LOVEEEE! This is a simple way to decorate a space that is also educational.
MEASURE- I started with measuring the walls I wanted to cover and being precise with the heights and widths while also accounting for the toilet, window, sink, whatever is on the wall.
PLAN-Mark off these wall dimensions on your floor with tape, a tape measure, or pillows and lay down the maps to understand where you should place the maps. I usually do one wall at a time. This gives you an idea what fits nicely with the least trimming.
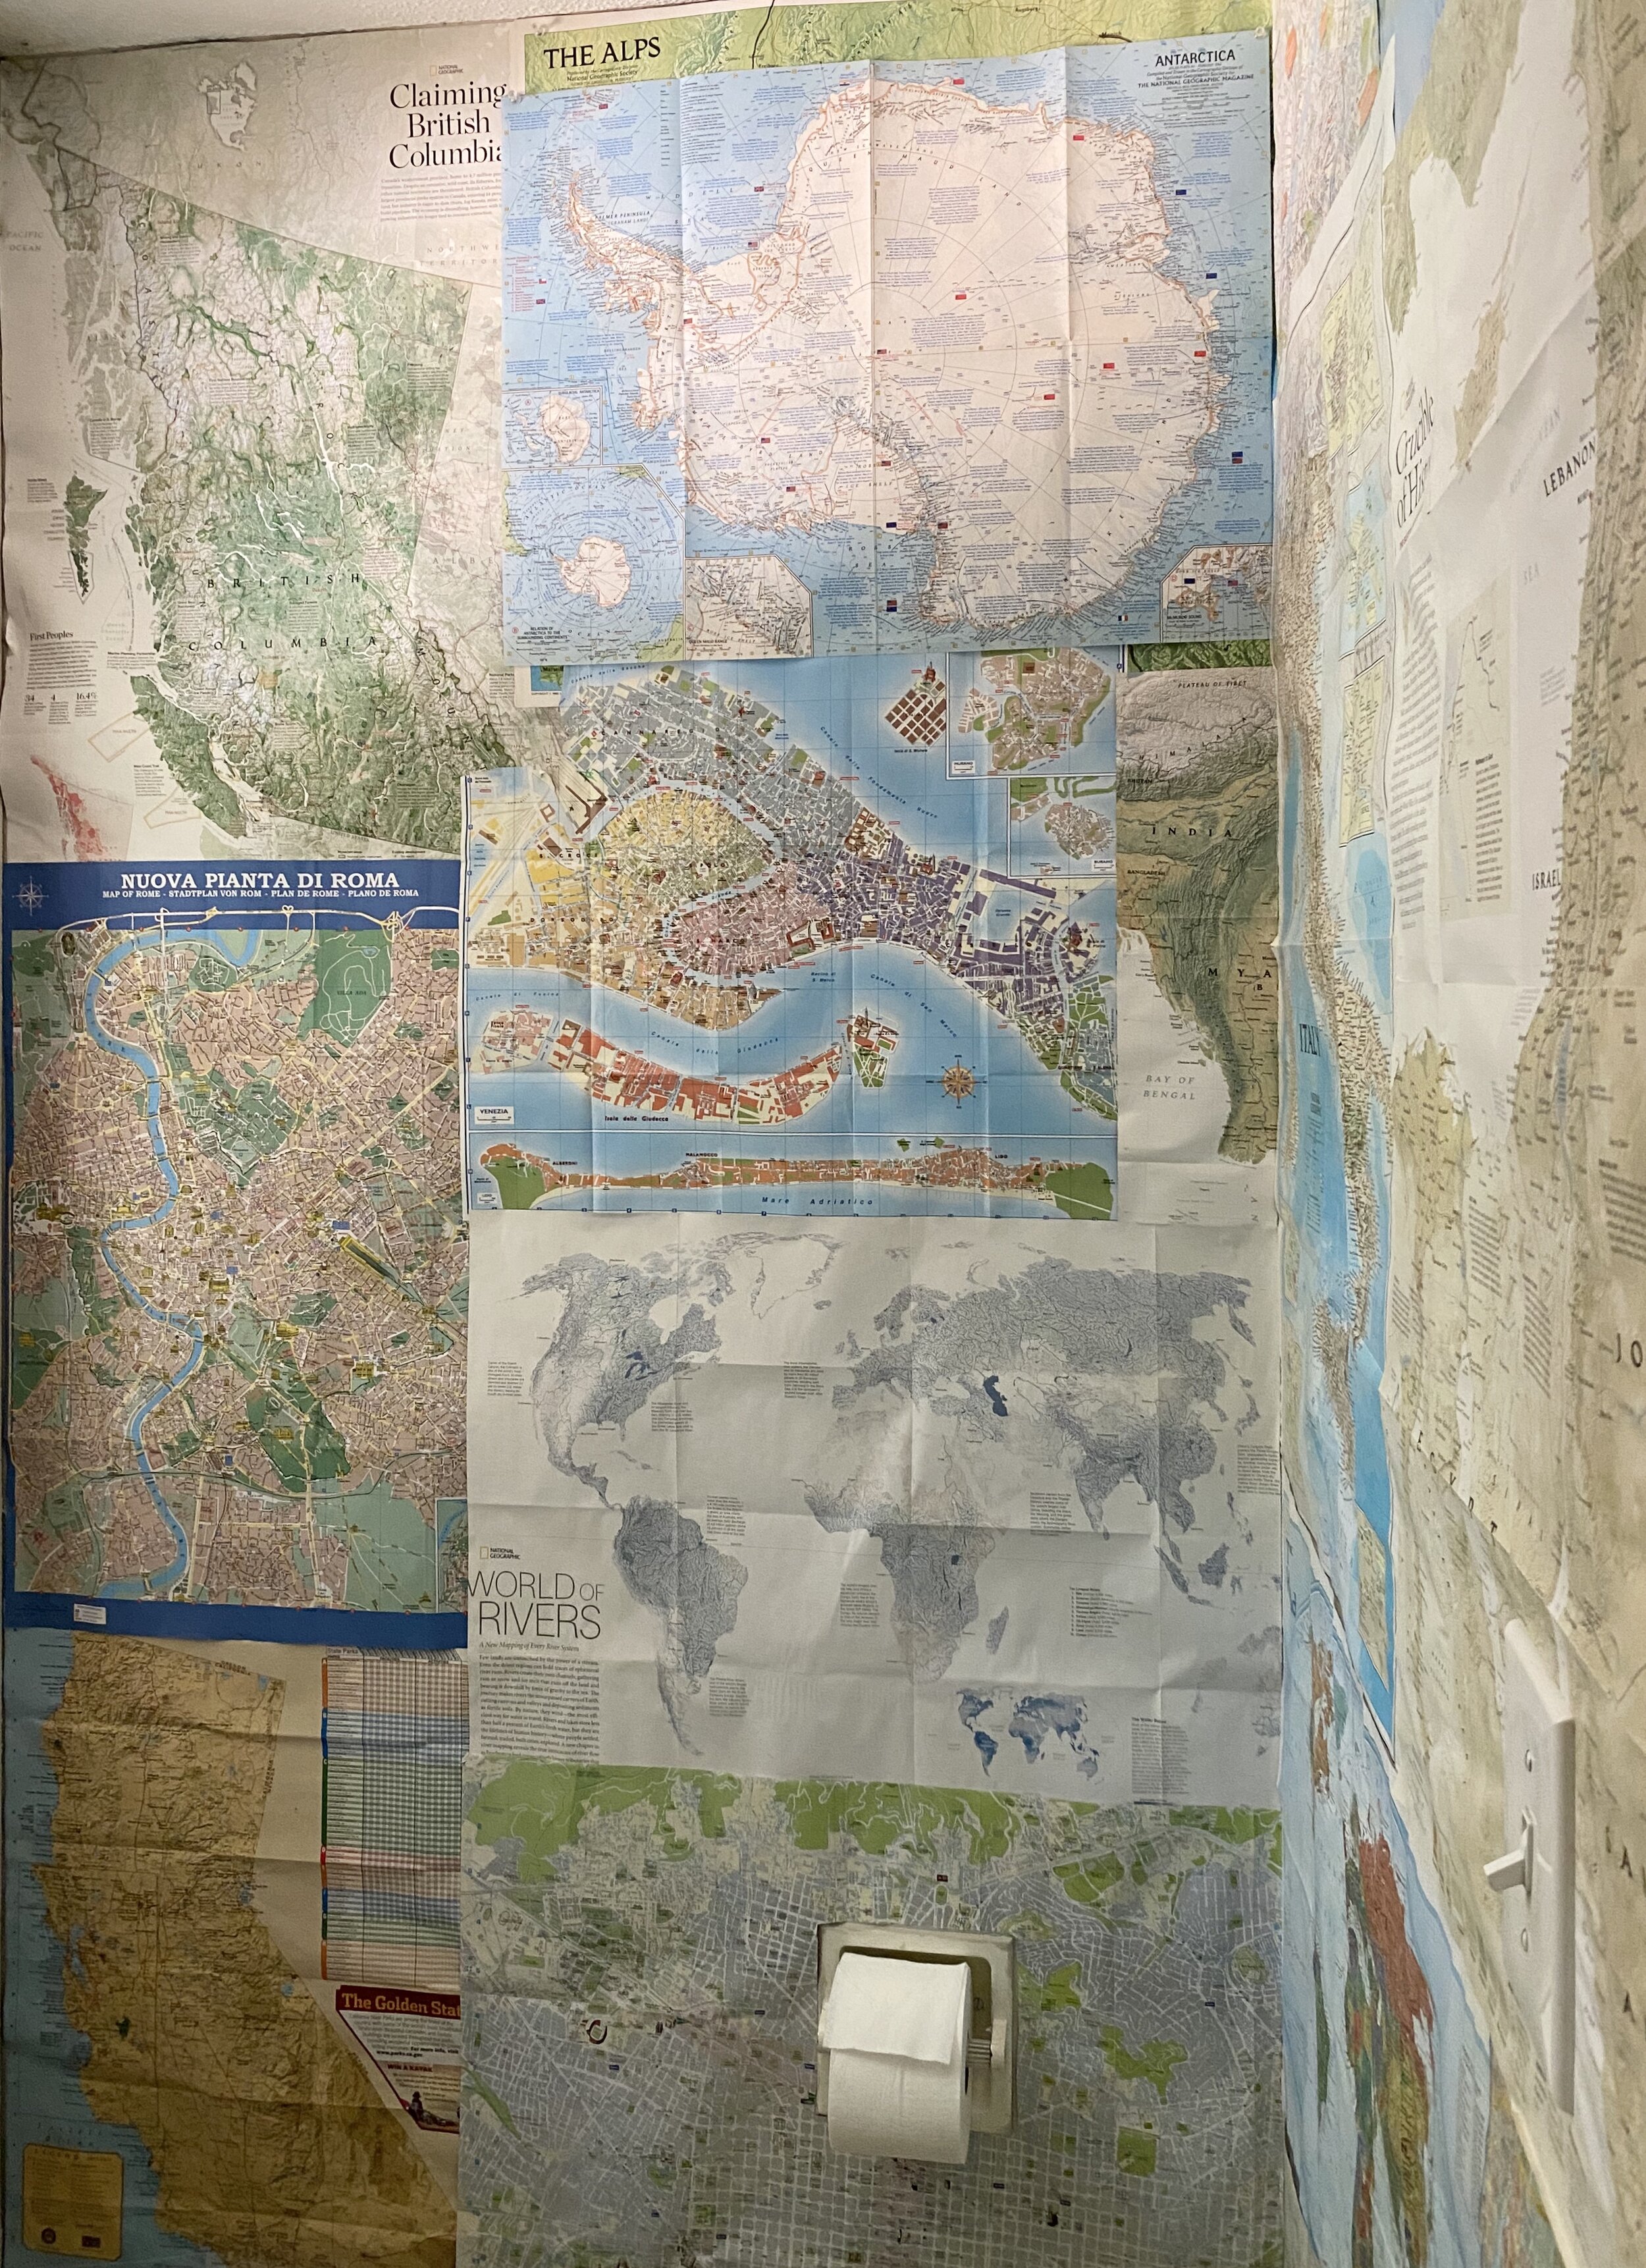
CUT- your maps, I sometimes trim off the excess white or the info key that has lots of text, or the front cover if necessary. Also cut them down so they fit in the space you need, remember measure twice cut once! Cutting around the outlets can be tricky, follow the steps to hanging wallpaper and take your time. I also took down our light switch to place the paper just behind it. An exacto knife can be helpful with cutting inside paper.
PASTE- You could use a wheat paste or wallpaper paste, but I like the flexibility of making changes (like hanging the map of Antarctica I just found over the Alps map…) or taking them down and using them for something else one day if desired. So I used double sided tape, it works great! A few pieces per side, and taping them with precision so they are flat against the wall is important. I also put a few clear thumbtacks in the top maps that are really big.