
Looking to try Indigo dyeing? Or maybe you love it and want a new way to practice shibori, the ancient Japanese art of folding textiles. Shibori translates as “ to wring, press, or squeeze” it is the active way of manipulating textiles to achieve the light/dark contrast and patterns when dyeing textiles. Here is a photo tutorial of a fun Itajima pattern, notice the reflection of the pattern? That is from folding the textile in halves, this pattern works best with a square.
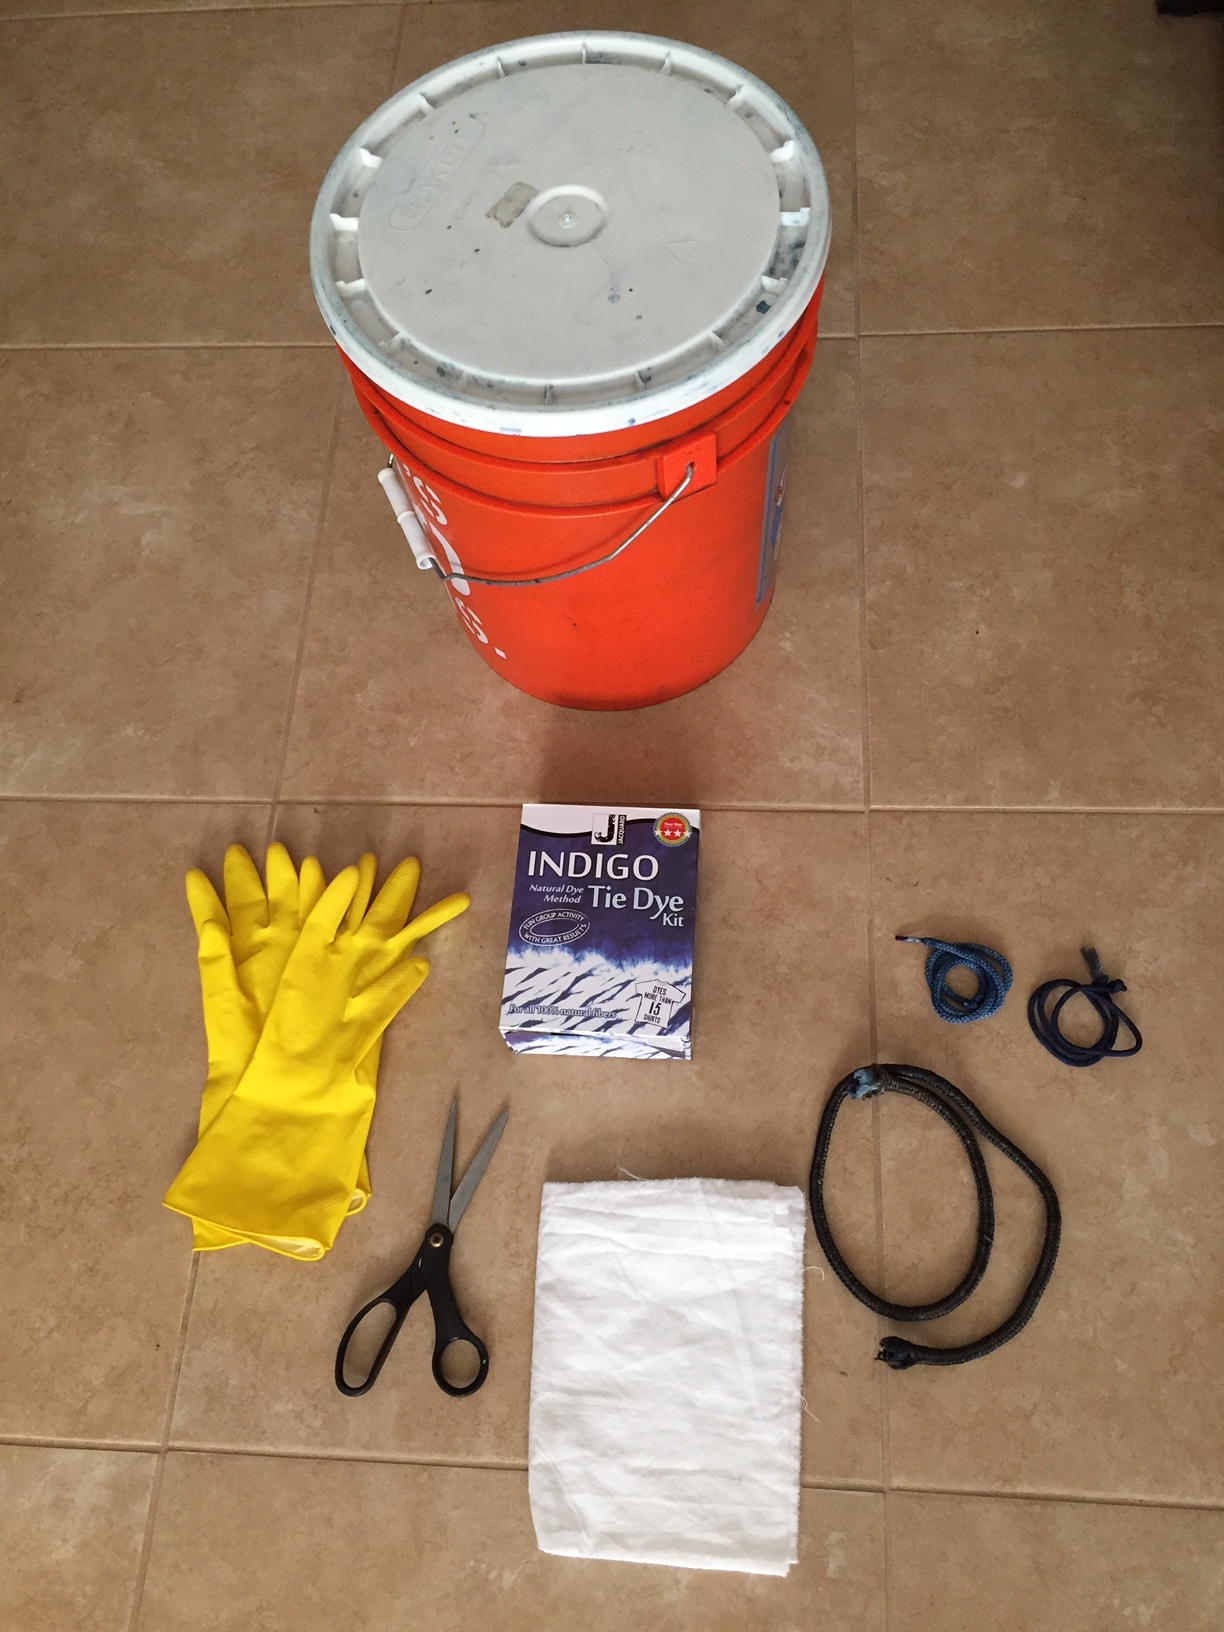


Step one: Collect supplies needed
5 gallon bucket and lid from hardware store, or some type of large dye vat capable of holding around 4-5 gallons of liquid, you will also want a lid
Natural fiber textiles, meaning cotton, hemp, lenin, silk, bamboo, some rayon fabrics, I recommend Dharma Trading Company or supporting your local fabric store. You may want to wash the fabric first in the washing machine, to remove dust and sizing.
Indigo dye kit from Jacquard which can be purchased on Amazon, Dharma Trading CO, or sometimes I find them at my local Arts Store, shout out to Artist&Craftsman! see photo above for a great photo. This kit contains a small starter pack for indigo dyeing designed for a 5 gallon dye vat. You will also want a great pair of utility or dish gloves that you don't mind turning blue, wooden blocks- you can buy these or ask a friend doing some carpentry projects for their scraps, plastic clamps from the hardware store, and possibly some rubber bands (these come in the dye kit)
Some kind of tray, it could be plastic or metal, or another bucket. You will lay the pieces out to oxidize in the air and excess liquid will run off the bound fiber and drip everywhere. I frequently use metal baking pans, the kind people cook turkeys in =)
In this tutorial I dyed a tea towel, purchased on Amazon, I use these all the time and love them!
The dye kit has amazing instructions to follow, but here are some tips and some general guidance for this pattern.
Step two: Design Pattern
* As you can see there are lots of photos documenting this step, but it is easy, especially after trying this a few times. Important things to note:
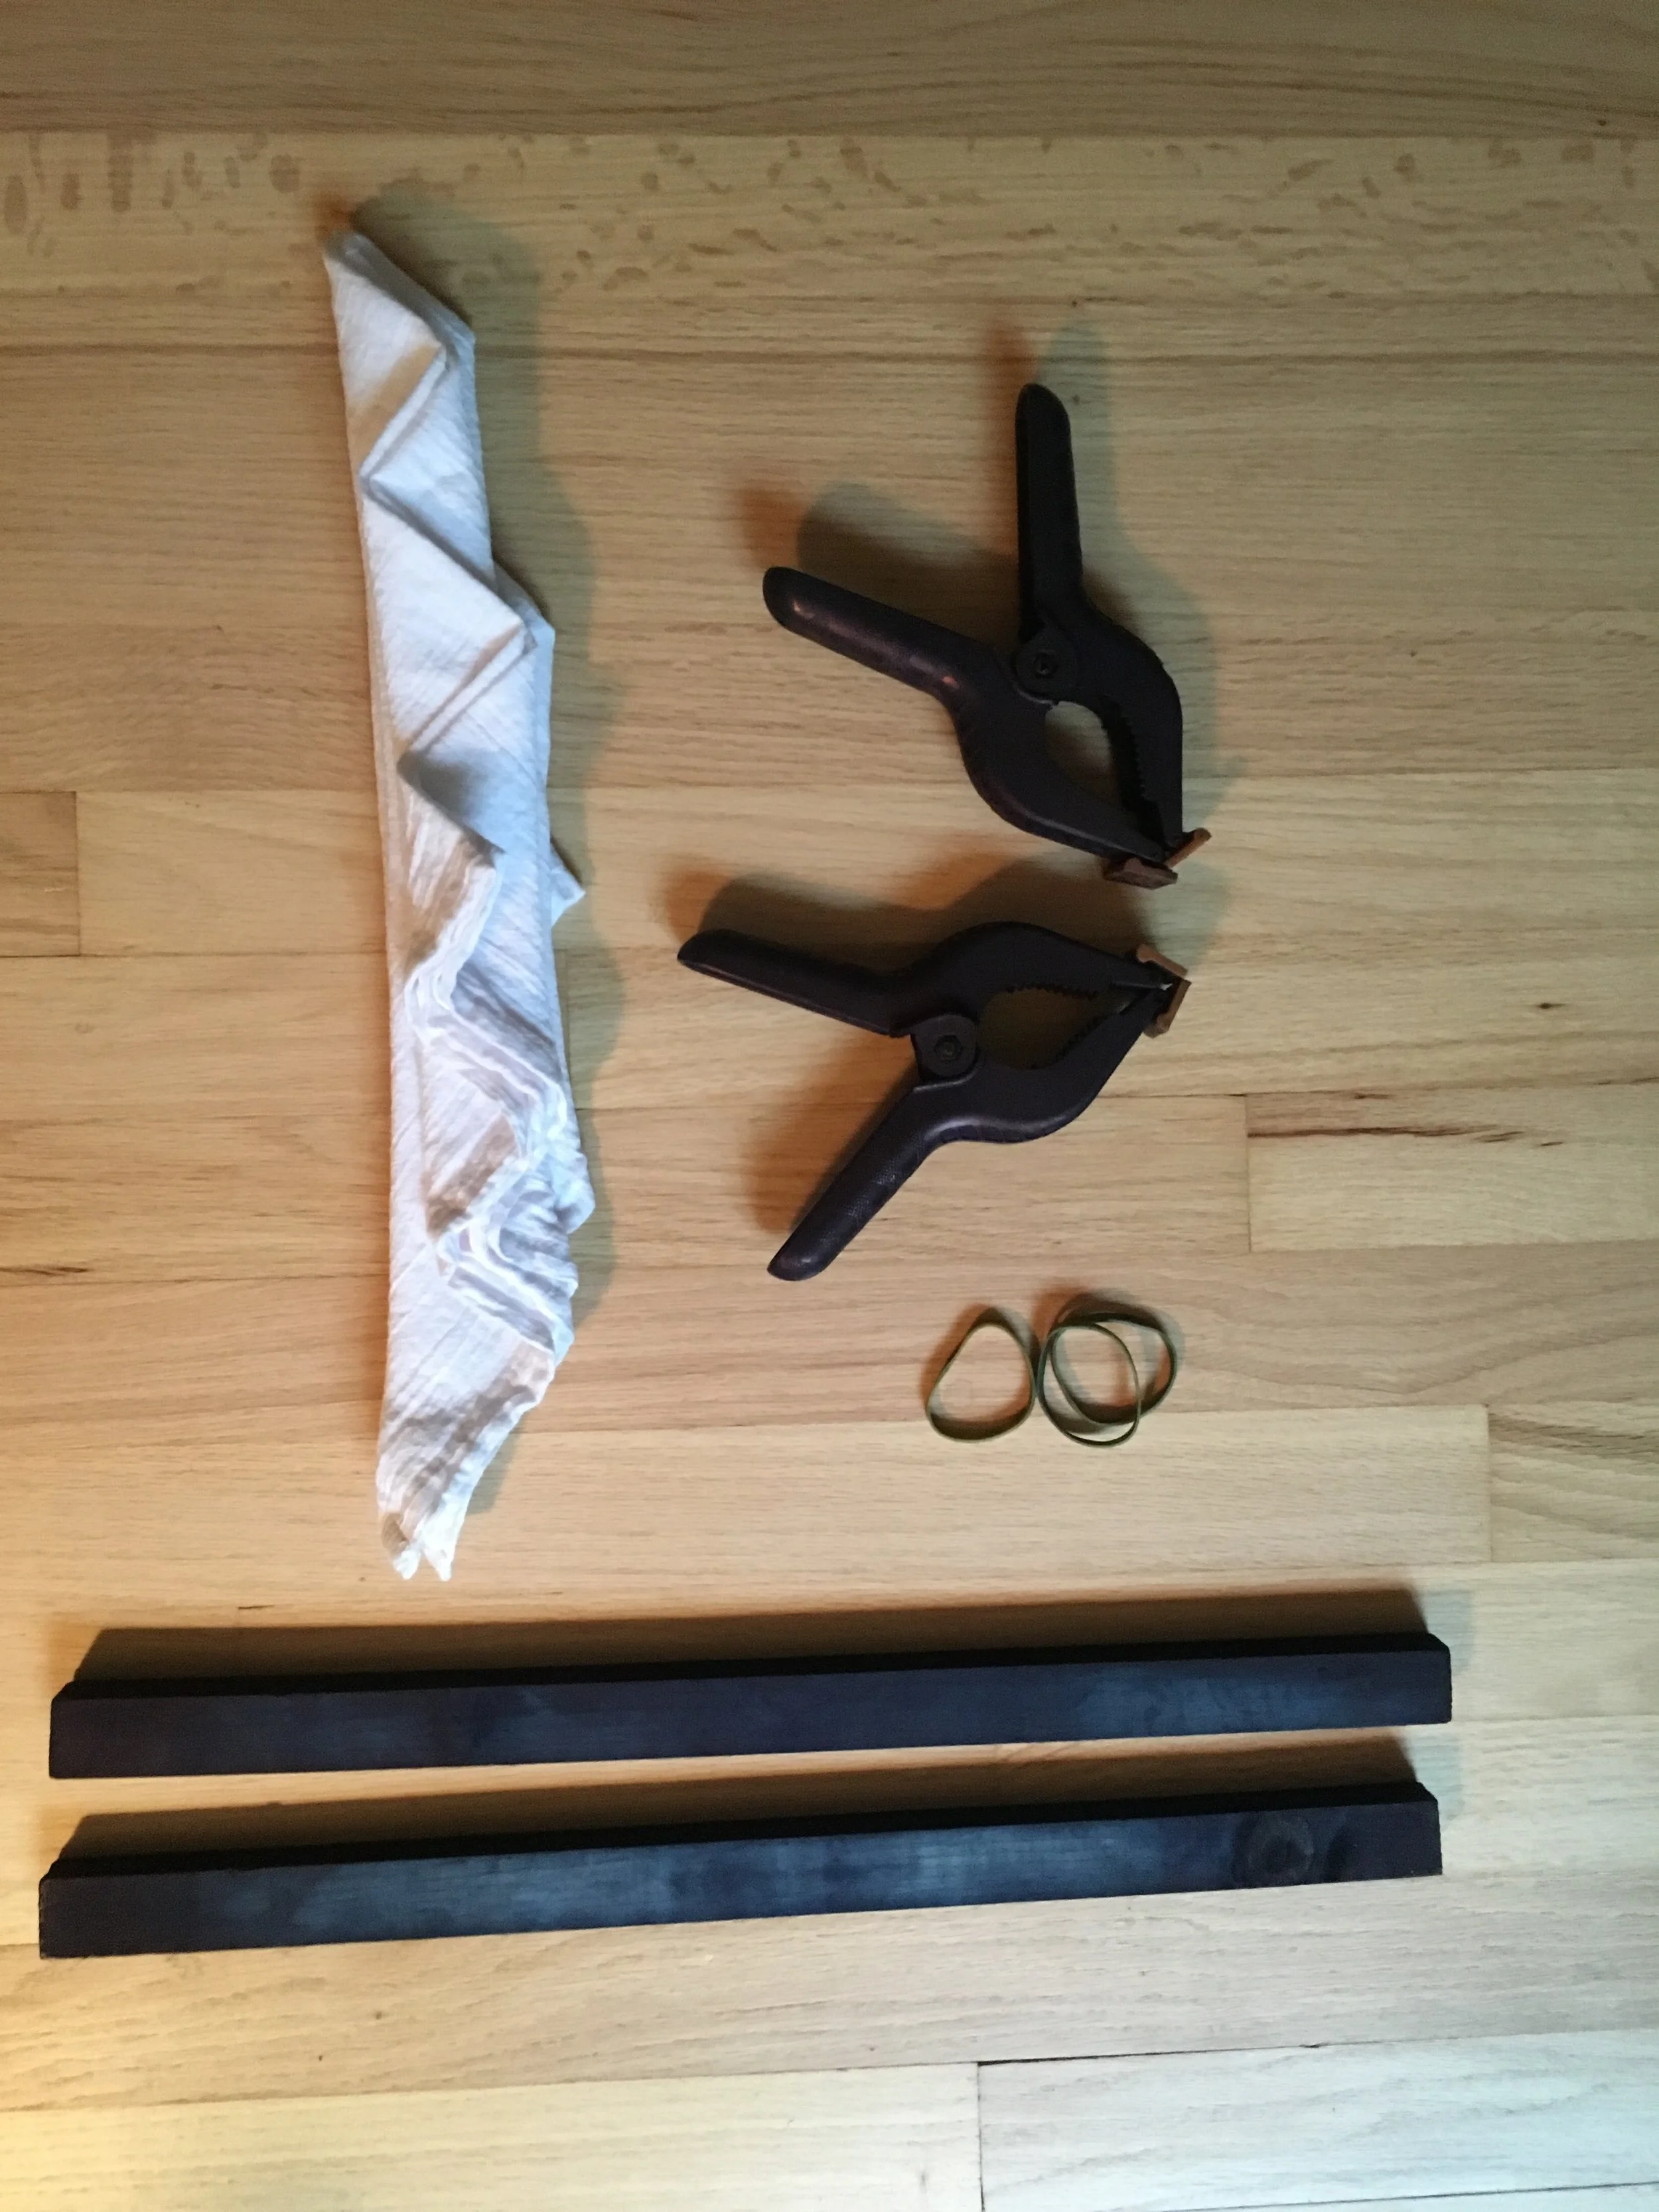
This design works best from a square. As you can see, I did not iron my fabric for this one, but you may want to- depending on how small you want to accordion fold your fabric, or the type of fabric, I usually always iron silk because it is slippery, cotton like these, holds well.
Anytime you fold a fabric in half, the pattern will be reflected on the other side. One side of the fabric will be a darker shade of blue because it is the side most exposed to the air **remember the fabric that is showing and not covered by ropes, rubberbands, wood, folded in, etc. will be the darkest blue shades because that part oxidizes the most with the air. If you want to have an even color of blue throughout the whole textile, you should dip the fabric two or three times, then unfold the fabric, let it oxidize, refold the fabric following the same fold carefully, this time place the outside darkest blue folds on the inside, so essentially you fold up the fabric in the other direction, then dip two to three times and it should have an even color throughout.
You can accordion fold the fabric any width you would like and you can also change the direction of the accordion fold, I started the fold from a diamond shape. There are some examples below, the possibilities are endless!
Place one wood block on either side of the folded fabric and clamp or tie it with rope or rubber bands tightly and evenly. Where the pressure is applied the least amount of dye will penetrate the fiber.
Step Four: The dyeing process
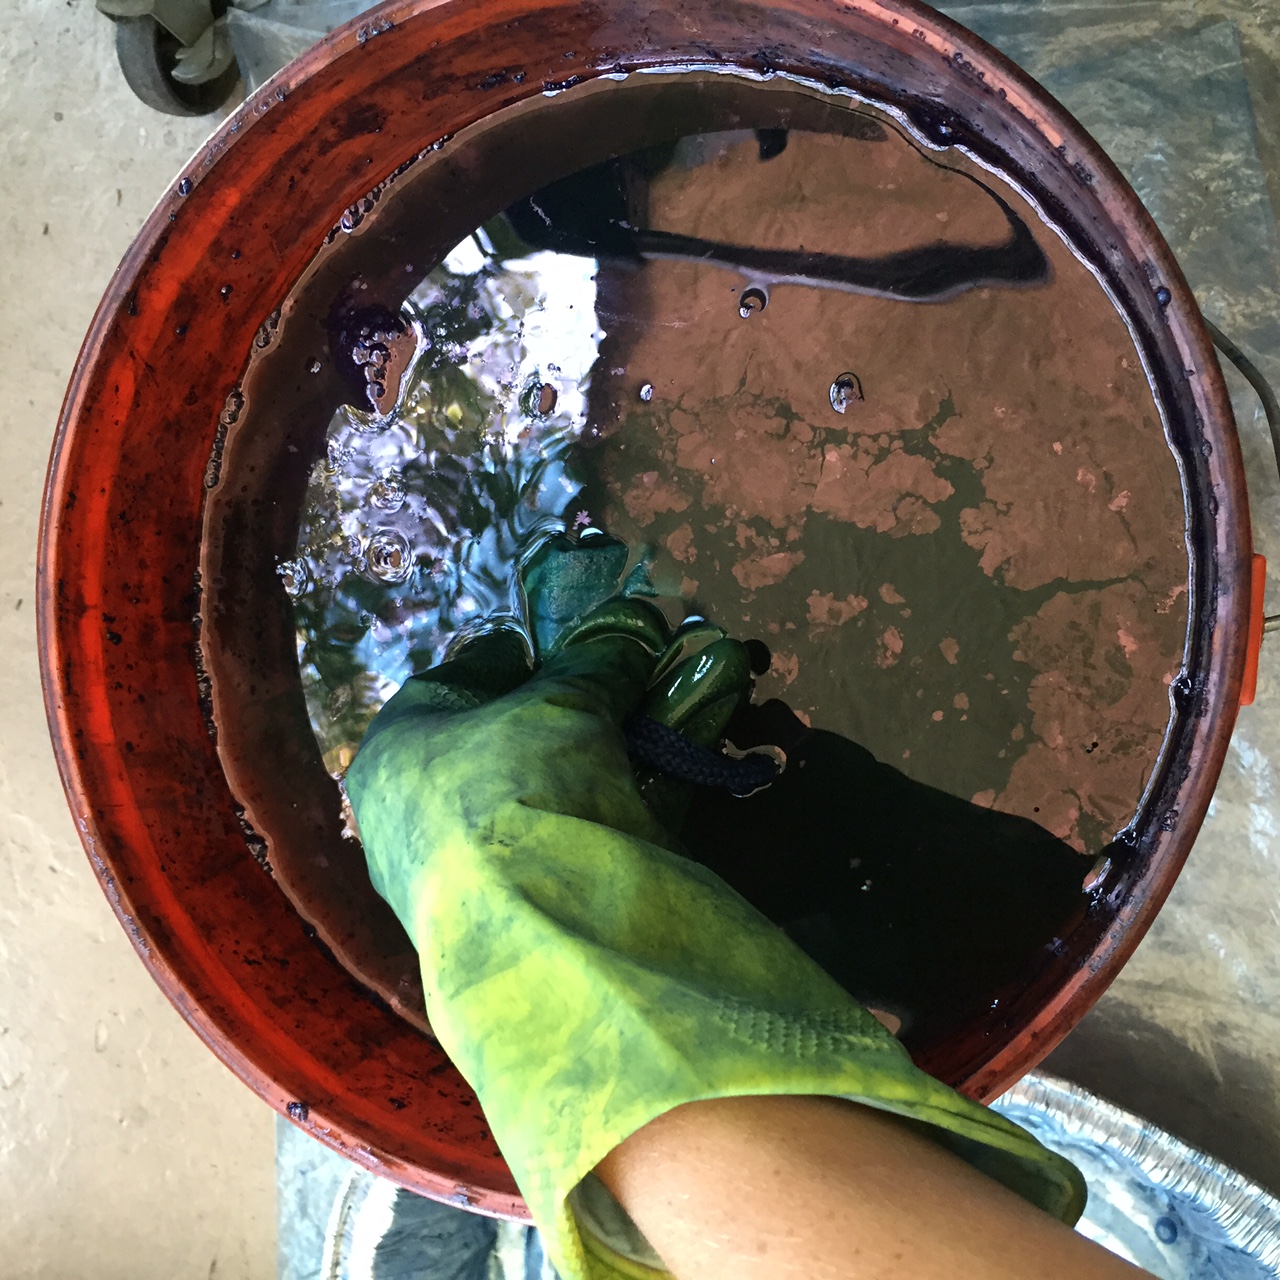
* Indigo has a very unique dyeing process, because it is a natural dye, there is a chemical reaction involved with the oxygen in the air, which turns the fabric blue. You obtain darker richer shades of blue by continually dipping the fabric in the vat and letting it oxidize over time and then redipping. There are excellent instructions in the dye kit. Keep in mind that it is possible to dye fabrics over several days, leaving your fabrics out and the dye vat covered. However, the dye will be strongest the first few days.
* You might want to do this outside, on a patio, or in a local park. If you do this inside you will want to have lots of plastic sheeting underneath for stray splashes and drips that always happen. Also you might want some type of storage container to rest your piece in as it oxidizes, something to catch all the excess dye.
* Also it is important to flip your pieces over as they oxidize, you will see they are green/teal where the air is not getting to the fabric. After 15-20 minutes dip again
* What I tell my students all the time, is the most deceiving thing about this process is how dark blue the fabric looks when you are in the middle of dyeing the fabric, but this is because the fabric hasn't been washed/rinsed and dried. After the fabric dries it will be much lighter than you realize. Therefore, it is important to have patience with this process and dip the fabric as much as you can. (The dips are only 2-5 minutes, the time in between can be 15+ minutes) Sometimes I set this up and dip fabrics throughout the day or over a few days. The dye will be strongest the first day you make it, so be ready to dye when you make the vat. It will last for a few days if you keep it covered and are gentle with the vat, not adding too much oxygen and bubbles. After your last dip, you can immediately open it, you do not need to wait 15 min for oxidizing on your last dip.
Step Five: The reveal
* Now for the most exciting part! The revealing! When you are sure you have dipped your fabric enough, I usually try to do 5-6 dips. Unclamp or unwind the wood pieces and unfold your fabric.
* As you can see in the photos below, the fabric will be that light teal/greenish color that we started out with, this is normal! The oxygen hasn't been able to penetrate this part of the fabric, overtime the whole fabric will oxidize and the piece will change right before your eyes!
* Keep in mind the white will stay white, the teal will turn lighter blue, the already oxidized blue will be the darkest part.
* Hang your fabric to oxidize and dry, when the whole piece is blue and white you can rinse the fabric in cool water until the water turns clean. Then you can hand wash with mild soap and more dye will come out again, wash and rinse until the water runs clear again, hang to dry and you are ready to wear your new garments or sew a new project!


